How To Clean An Old Fish Tank- (A Cleaning Guide)
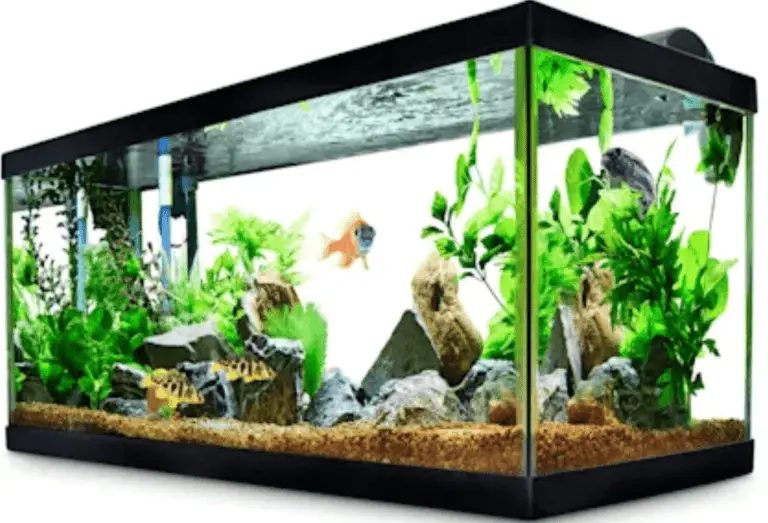
An old fish tank is like an old abandoned home. It takes a lot of work to make it habitable. If you are a beginner in the hobby and want to set up your first tank project, we strongly recommend you go for a second-hand considerably room tank instead of new and small tanks being sold at the pet stores under the tag of so-called beginner’s tank.
There are many confusions and misconceptions regarding how to properly clean the old fish tank without fear of once used. If you have the same confusion, you have landed in the right place.
The price you would probably pay in purchasing a small new tank can give you a handsomely large old tank, and you need to clean it properly.
Things Required for Cleaning The Old Fish Tank
With the cheap and effective natural cleansing substances and the right equipment, one can easily clean the old fish tank. You will need just a few simple supplies to get the job done correctly, and they are bulleted below.
- Algae scraper or scrubby pad.
- A razor blade.
- A bucket to drain out the old water if any.
- A Siphon hose.
- A Siphon vacuum.
- Paper towel.
- Vinegar and salt.
- Non-detergent bleach.
Now that all the things you need are ready, you can clean all the tank parts following the order of steps that we will discuss one by one.
Removal of All The Removable Items
If you bring home the old tank which contains the residual decor, rocks, and other equipment. Take them all out to rightly carry out the cleaning and sanitizing process. You can throw the décor or other items if they can not be reused.
Otherwise, put them aside if they are in a condition good enough for reuse. You may find it difficult to remove the gravel, for which you can use a gravel siphon vacuum for its efficient and thorough removal.
Now that all the things you need are ready, you can clean all the tank parts following the order of steps that we will discuss one by one.
How To Clean Fish Tank Gravel
Sometimes second-hand tanks are actively running but worn-out tanks that your neighbor or colleague, or relative can’t run anymore.
Apart from the safe removal of tank inhabitants for cleaning the tank, the proper removal of gravel is also necessary. You might be wondering, what do I exactly mean when I say proper removal of the gravel, let’s break it down.
Steps For Cleaning The Gravel
For cleaning the gravel, you may need to remove it if you are doing it without a siphon vacuum. If you are using a siphon vacuum, you don’t need to remove the fish (if any) from the tank.
To clean without a siphon, you need to empty your tank from the fishes. Drain the tank-water into a clean bucket and transfer the fishes into the bucket. It is usually safe to use nets for moving the fishes but depends on the kind of fishes.
Once fishes are transferred, you can finally remove the gravel now. Please take note that you don’t need to rinse or clean up all the gravel. Instead, pick up two medium-sized cupfuls of gravel and put them aside without rinsing them.
Keep this gravel unrinsed as it contains beneficial bacteria responsible for the efficient establishment of the nitrogen cycle. Rinse the remaining gravel by putting it into the filter-sieve and rinse it properly under the running tap water.
Ensure the use of all the tools and utensils dedicated to this cleansing purpose only, not to let any external chemical residue be included. If the substratum is sandy, then using a siphon vacuum is mandatory as you can’t take the sand out.
We are done here with the gravel cleaning and can now proceed to clean the glass thoroughly.
But if that’s not the case and you are not going to clean the glass, and the substratum is also sandy, then cleaning it the easy way is to stir up the sand with your finger and then run the vacuum 2 inches above the sand.
All the unwanted stuff like detritus will rise to the surface, which will be sucked up by the siphon vacuum.
How To Clean Fish Tank Glass
You may face many problems during the clean up of an old fish tank that you have bought. Some issues will be irritating to you, while some will be confusing. Below are the common problems that you may face, and the solution is also given.
Problems With Old Fish Tank Glass During Cleaning
Cleaning the old fish tank’s glass might seem an easy task to you if you are new to the hobby, and when you think of cleaning, you assume it would be somewhat like wiping the dampened piece of the towel on the glass.
If this is so, you are slightly right in your thinking, but it is just a small initial step in the overall cleanup.
The aquarium glass, especially the old second-hand glass, sustains deep stains. These stains are residual left-behinds that the nutrients and ion enriched water leaves on the glass.
Mineral-rich water evaporates, but the hardness in the form of these stains gets adhered to the glass. Cleaning and removal of these stains take some real effort with the proper use of safe cleaning agents.
Steps For Cleaning The Fish Tank Glass
The first and foremost thing in cleaning up the tank glass is general cleanup to remove all the dirt, and it is easy to remove temporary stains.
This can be done using the wet piece of towel soaked in hot water and wiping it thoroughly along the bottom and the walls. All the permanent stains, especially the lime or calcium build-up, can now easily be spotted.
Now all you have to do is to make a vinegar cleaning solution. This can be done by adding equal amounts of water and vinegar in a spraying bottle.
Now add some non-detergent bleach to this solution but make sure that bleach does not exceed 10% of the total solution. Although adding bleach isn’t mandatory. It will reduce your time and effort to clean up if used within the above mentioned safe levels.
Now you can spray this prepared solution all over the internal and external sides and bottom of the tank. Ensure the correct and thorough spray of the solution with all the sides, surfaces, and areas being sprayed upon.
Once you have done, you can leave the tank for precisely 10 to 15 minutes. Keep a check on the clock because the bleach can prove to be corrosive.
Then you can finally rinse the tank with clean water. For an efficient rinsing process, fill the tank with water and let it be there for another 10-15 minutes. After this, drain the water in the sink or bucket.
Use a siphon hose if the tank is too large to be tilted. Now it’s best to leave the tank in air or dry for 24 hours. This is done to let all the reminiscent bleach or vinegar break down.
Steps After Cleaning The Glass
Now the tank glass is in its final touch to get ready for the reinstallation of the equipment and decoration. Finally, scrubbing and scrapping of the tank glass need to be done. This is done using a scrubbing pad or razor blade to scrub out all the possible stains.
After it, the first step of the whole cleanup process is again repeated, which is to wipe the tank glass using a paper towel soaked in hot water.
How To Clean Old Fish Tank Decorations
The next step in the renovation of the old fish tank is the cleaning of decorations. Decorations are a significant part of every aquarium, and they provide a sense of security and feeling of being at home to the tank inhabitants.
The decorations also need to be cleaned before reinstallation in the tank. Over time in nutrient-enriched water, unwanted microalgae get grown on the décor giving them an ugly and worn-out appearance.
These nuisance microalgae are responsible for a nutrient imbalance in the tank as well. There is no other way out but to get rid of them. To add a point here, the decoration of every running tank should be cleaned at least once a month.
Using Vinegar Solution
Now let’s go deep down on how to clean the decorations properly. Usually, there are three ways adapted to clean the decorations. The first one is to clean them using a vinegar solution.
To make up a vinegar solution, add equal amounts of clean tap water and vinegar in a bucket that wasn’t used for any other purpose. Soak the decorations in this solution for about 10 minutes.
Finally, they can now be taken out for the scrubbing process. Scrubbing can be done using a brand new soft-bristled toothbrush already being dipped in the diluted vinegar solution.
Running the décor under dechlorinated water would be the last step before you finally set them back in the tank.
Using Bleach Solution
The second and the most adapted method of cleaning the decoration is washing it in a bleach solution. For it, first, you have to boil water in a pot. Then add all the pieces of décor in the pot and let them soak in for about 20 minutes.
Don’t forget to turn the stove off before soaking them in. By now, the microalgae and other sticky substance should have lost their grip. Note the time and take them out for scrubbing. Again make sure to use a soft-bristled toothbrush dedicated only for this purpose.
Now make up the bleach solution in the bucket. (By now, you already have understood the use of utensils that are not used for any other purpose before) Bleach is corrosive and should be added carefully.
To be precise, add two teaspoons of bleach in 2 gallons of water. It is okay if the water is warm or cold, but it shouldn’t be hot. This measured addition of bleach will make up 5% bleach in 95% water.
Now soak the decoration in this solution for just 5 minutes, scrub it again with the same toothbrush and then rinse it under the running tap water. It is best to rinse it in dechlorinated water. But the tap water also seems to be okay.
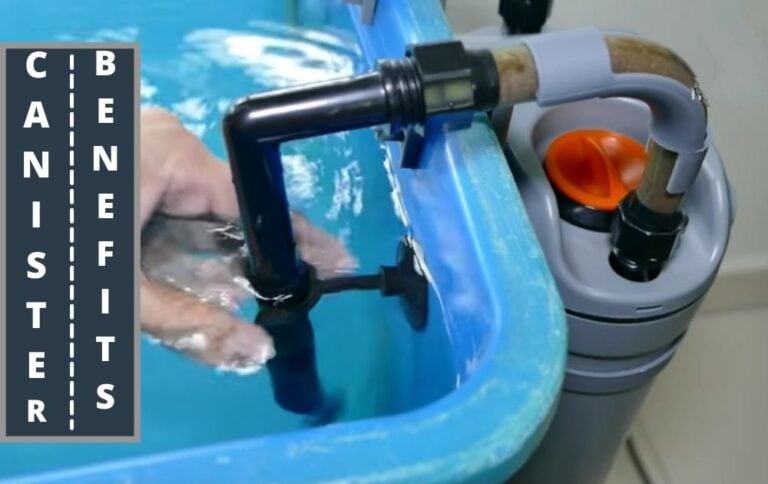
How To Clean An Old Fish Tank Filter
Filters are the backbone behind the running of every aquarium. They clean the water by taking up the suspended, floating, and submerged nutrients or food particles and neutralizing the water, making it habitable for the fishes.
Filters also get clogged over the time they need to be cleaned to remove the blockage.
As we already know that mechanical, chemical, and biological filtration setups are installed in the tanks for efficient filtration. In this guide, we will discuss the step-by-step process on how to clean all types of tank filters.
Cleaning The Mechanical Filter
Mechanical filters usually have a sponge or pad fitted inside. The primary purpose of cleaning the mechanical filter is to clean the sponge or pad.
First of all, uninstall the filter from your tank (you must know how to unplug it, if you don’t, check out the owner’s manual) and place it in a bucket or bowl dedicated for this purpose only.
Be sure not to unplug the filter when the feeding time is just finished or visible food particles floating around.
Now the next step is to clean the filter sponge by rinsing it with water. Tap or distilled water can wash off the beneficial bacteria present on the sponge.
You will not want to wash these bacteria as they regulate the nitrogen cycle and maintain the tank’s nutrient level. So, it is best to use the tank water to clean the filter.
Take the water from the tank using a siphon or plastic cup and use it for rinsing the sponge. Run water over the sponge and squeeze it with your hands.
Repeat this process unless water running through the sponge seems clear. Squeezing the sponge won’t remove all the beneficial bacteria present on it.
Now, after this process, the gunk must already have been removed. You can replace the sponge pad if it is old or too dirty to be cleaned.
Cleaning The Mechanical Filter Parts
Now that the sponge has already been cleaned, it’s time to clean the other filter parts like casing and tubes. These parts also sustain the stains and spots.
It would be best if you scrubbed them only using an unused soft-bristled toothbrush or filter cleaning scrub. You can dip the brush in tank water to make it wet for scrubbing.
This is where we are done with the cleanup of the mechanical filter. Now you can return the sponge or pad into the filter and fix the filter back into the tank. Remember that mechanical filters must be cleaned once every four weeks.
Cleaning The Biological Filter
Biological filters must not be cleaned as often as the mechanical filter since it contains many beneficial bacteria that must not be harmed.
So, it does not need frequent cleaning, but if you need to clean it, follow the steps that we just discussed in mechanical filter cleaning. Once done, put it back in the tank immediately.
Cleaning The Chemical Filter
The maintenance of chemical filters is mainly attributed to the replacement of carbon present in them. Carbon needs to be replaced once every week. But if the tank water looks cloudy, you can do it twice a week.
All the steps discussed in the cleaning of mechanical filters need to be followed here as well. Just make sure to remove the carbon before step number one and replace it with the new carbon just before reinstalling the filter back into the tank.
What Not To Use for Aquarium Cleaning?
Detergents or soaps must never be used for cleaning aquarium decorations and equipment. Detergent does not completely wash away no matter how much you rinse the tank with water.
The residual detergent chemicals easily dissolve in the tank water and impose serious threats to the fishes and all kinds of life in the aquarium. They have poisonous effects and can kill the fish within no time.
Final Words
All the beginners who are planning to buy second-hand tanks or old fish tanks should be kept in mind that they should have clean the old fish tank before adding their fishes into the tank. It will be best for them not to take any risk.